Get ready to fall in love with this quick pickled radish recipe! The crunchy, tangy, salty veggies are perfect for jazzing up tacos, toast, salads, and more.

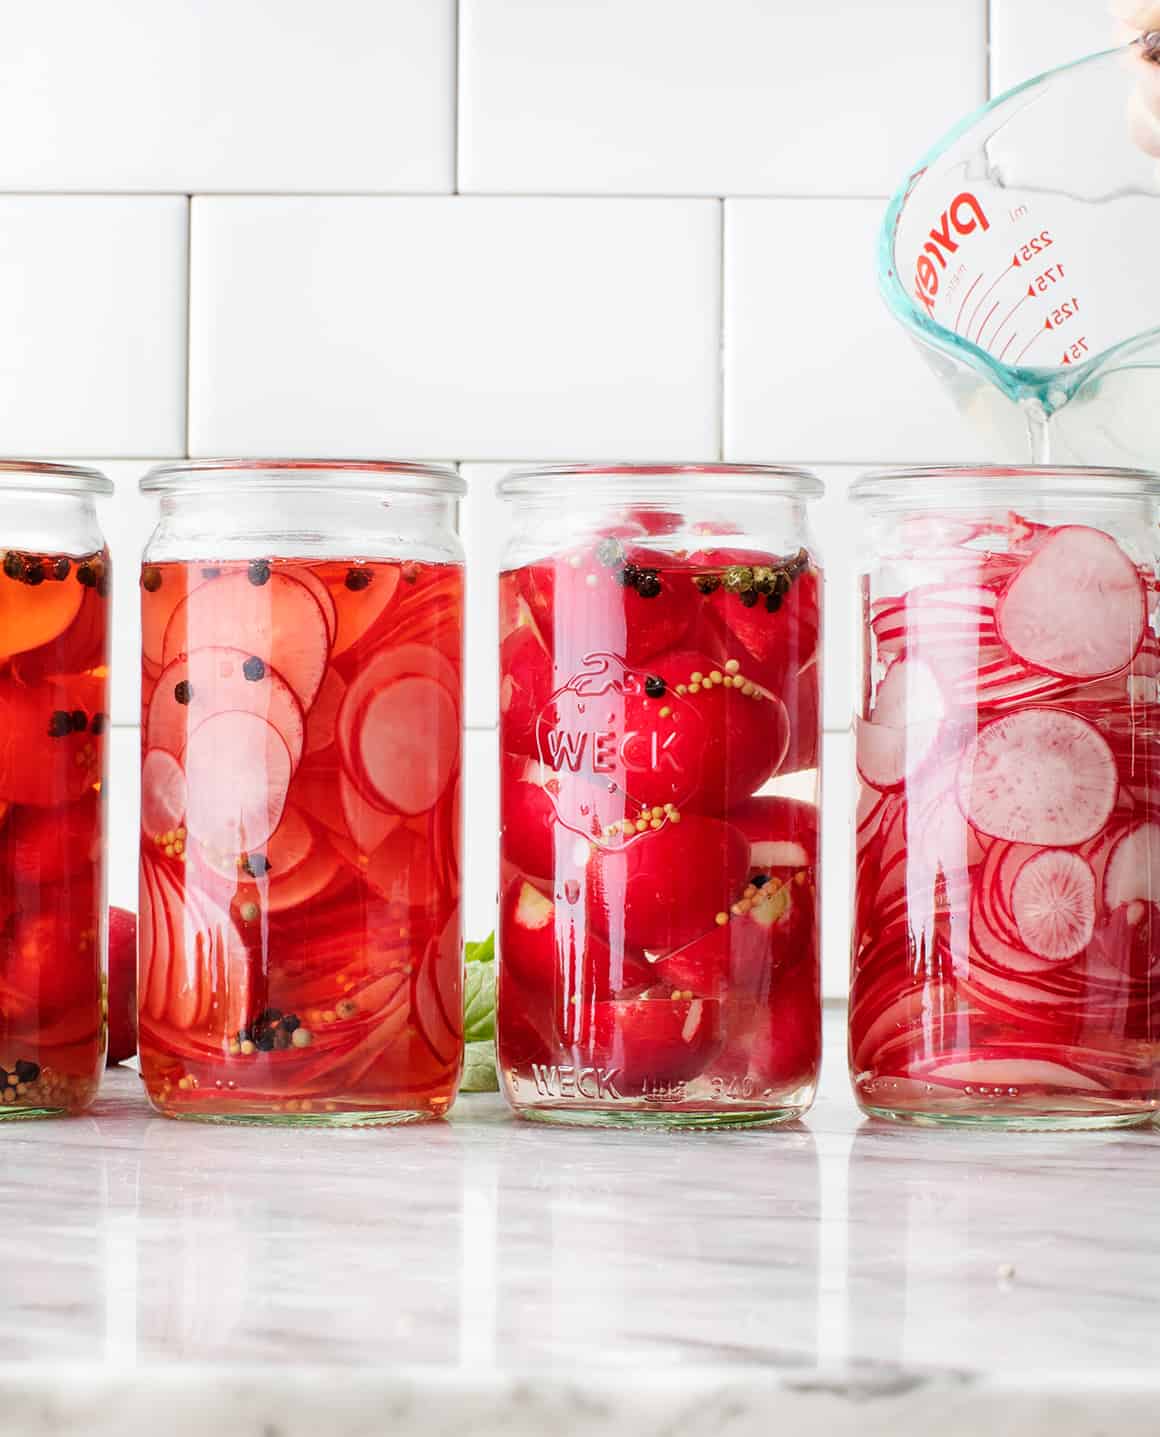
If you opened my fridge right now, you’d see jars upon jars of these quick pickled radishes lined up inside. They’re so pretty and pink that it’s almost a shame to eat them. I love the vibrant patterns the radishes create against the glass, all those circles and stripes. The natural beauty of these humble root veggies never ceases to amaze me.
Still, eat them I will. Tangy, salty, and delightfully crisp, they’re an addictive snack or topping for toast, tacos, bowls, burgers, salads…just about anything you like! This pickled radish recipe is easy to make (the fridge does most of the work for you), and the radishes keep for weeks. I love having a jar on hand for jazzing up all sorts of spring dishes. I think you will too!

Pickled Radish Recipe Ingredients
Here’s what you need to make this pickled radish recipe:
- Radishes, of course! I call for red radishes here, but other varieties would work well too. Experiment with Easter Egg, watermelon radish, or daikon radish. Whatever you do, don’t toss the tops! Learn how to use them here.
- White vinegar and water – They make up the tangy base of the brine.
- Cane sugar – It’s the perfect sweet complement to the assertive vinegar, making these quick pickles well-balanced and addictive.
- Sea salt – It helps preserve the radishes and adds necessary salty flavor.
- Whole peppercorns and mustard seeds – They add unique depth of flavor to this simple brine.
Find the complete recipe with measurements below.

How to Make Quick Pickled Radishes
This pickled radish recipe is super simple to make! Here’s what you need to do:
- First, prep the radishes. Wash the radishes well, trim off the tops, and thinly slice or halve them. If you want to slice the radishes, I recommend using a mandoline. It will make the process go way faster and yield even, paper-thin slices. Divide the radishes among 4 (11.5 ounce) jars, or whatever lidded jars you have.
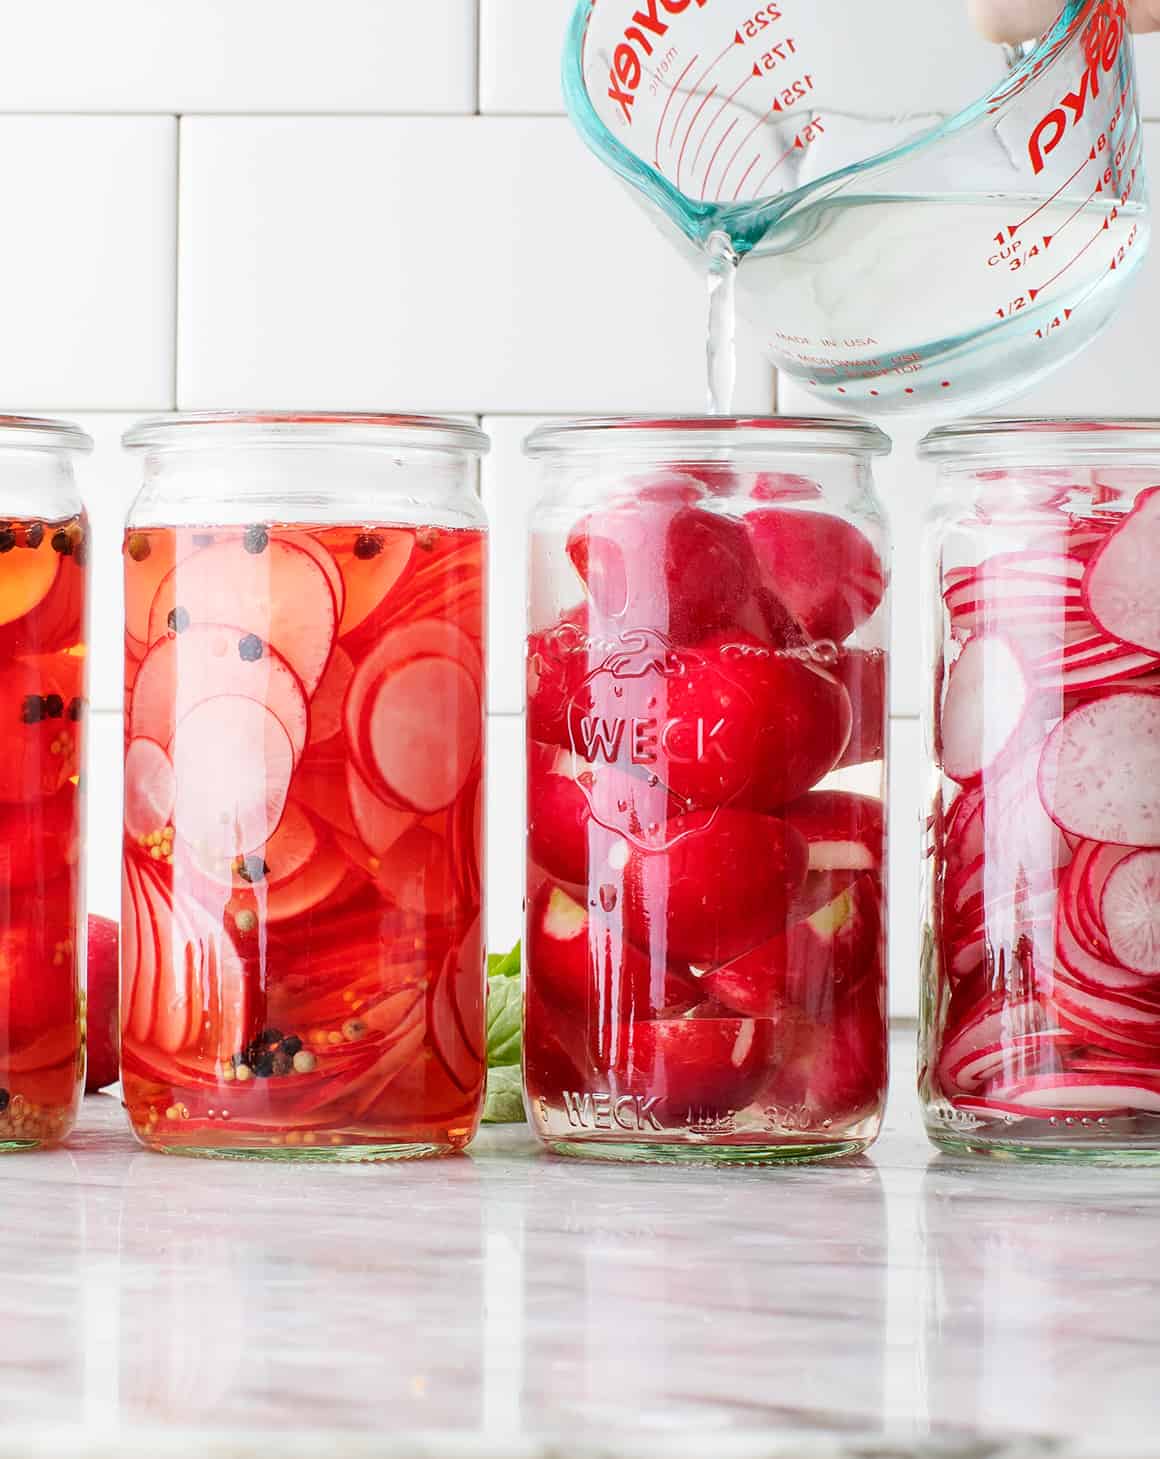
- Then, make the brine. Combine the vinegar, water, sugar, and salt in a small saucepan over medium heat. Stir until the sugar and salt dissolve, about 1 minute. Allow the brine to cool at room temperature before pouring it over the radishes in the jars. Finally, add the peppercorns and mustard seeds, cover the jars, and refrigerate.
The quick pickled radishes are ready to eat when they are bright pink, tangy, and complex, with subtle depth from the peppercorns and mustard seeds. Thinly sliced radishes taste great after just an hour in the fridge, while halved radishes are best after a day. They will keep in the fridge for up to 2 weeks.

Pickled Radish Serving Suggestions
If you’re anything like me, you’ll have a hard time not devouring all these radishes straight from the jar. Of course, you should snack on them as much as you like, but there are all sorts of other ways to use them too:
- On tacos or nachos. Top them onto my Sheet Pan Nachos or swap them in for the pickled onions in this Sweet Potato Taco recipe.
- On a sandwich or toast. They add a delicious crunch and a bright pop of flavor to my Egg Salad, Vegan Egg Salad, and Chickpea Salad sandwiches. They’re great on avocado toast, too!
- On a veggie burger. Pile them onto this veggie burger, this black bean burger, a portobello mushroom burger, or a BBQ jackfruit sandwich.
- In a salad. Replace the regular radishes in my Bright Spring Salad or Healthy Taco Salad with pickled ones!
- In a grain bowl. They’d be excellent in my Buddha Bowl or Veggie Power Bowl.
How do you like to use quick pickled radishes? Let me know in the comments!

More Homemade Pickles
If you love this pickled radish recipe, try one of these easy pickling recipes next:
Love radishes? Check out this radish salad or these roasted radishes.

Pickled Radishes
Ingredients
- 4 bunches red radishes, tops removed
- 1 cup white vinegar
- 1 cup water
- 2½ tablespoons cane sugar
- 1 tablespoon sea salt
- ½ teaspoon mixed peppercorns
- ½ teaspoon mustard seeds
Instructions
- Thinly slice the radishes (or halve them, if you prefer), and divide between 4 (11.5-ounce) jars or equivalent. The amount of radishes and brine used may vary based on the size and shape of your jars and how you slice your radishes.
- Heat the vinegar, water, sugar, and salt in a medium saucepan over medium heat. Stir until the sugar and salt dissolve, about 1 minute. Pour the brine over the radishes, then divide the peppercorns and mustard seeds among the jars. Let cool and chill until ready to use. Pickled radish slices will be ready to eat in about 1 hour, radish halves are best when pickled overnight.


Can you give a rough weight for 1 bunch of radishes?
Can you water bath process these like other pickle recipes to make them shelf stable?
These were so delicious! I’m wondering the same question Kathy has. Can we water bath safely?
Hi, we’ve never tried processing these in a water bath! I’d recommend using a recipe specifically designed for that if you want them to be shelf stable.
This is my first time picking something. To what temperature/type of boil do I heat the vinegar mixture to?
You’re not cooking the mixture. You only need to warm it to dissolve the salt and sugar.
We really enjoy these and it is a great way to deal with a bunch of radishes from the garden all at once! Delicious! Perfect of salads and sandwiches. I am wondering why they would be good for only 2 weeks? Would it be safe to eat them later if there was no sign or mold or anything?
Hi Jan, we recommend 2 weeks to stay on the safe side. I think if they look ok longer than that, it would probably be fine to eat them.
i made these and they are so yummy, and the pink color of the liquid is so beautiful!! i grow jalapenos and am planning to do a joint radish-jalepeno pickling with your recipe in just a few weeks 🙂
my boyfriend and I absolutely adore these and keep them on hand at all times ever since I made them for the first time. Thank you so much for the recipe, these truly made me find new joy in eating! <3
How much is a bunch of radish roughly?
Hi Zara. I love this recipe but I have to look up what she said about this every time (it’s in an earlier post) Apparently a bunch usually has about 5 to 7 radishes. The person asked what the do with 10 radishes and she said to halve the brine recipe. Honestly, worst case is that you make too much brine. As long as you stick with the 11.5-12 oz jar she recommends and divide evenly, you’re good. This is a great recipe.
Thanks for this! I hope it will be updated in the recipe.
depends on the season , they are best in summer taste wise, I bought 3 bunches this morn on sale at Longos for $1 a bunch , about 12 per bunch, I double the peppercorns and mustard seed and only 1/2 cup water also eXtra sugar to taste , also I quarter them …to each his own
Very easy and foolproof recipe. I have made this several times and love it!!
Hi Gaby, I’m so glad you love the pickled radishes!
Quick pickled radishes are such a great way to add a pop of flavor to any dish! Love how simple and versatile this recipe is. Definitely trying this soon!
Hi Lucas, I’m glad you enjoyed it!
I used your recipe to picklethelast of ourgarden radishes from 2024. Great recipe! Very tasty!
Hi Tracy, I’m so glad you enjoyed them!