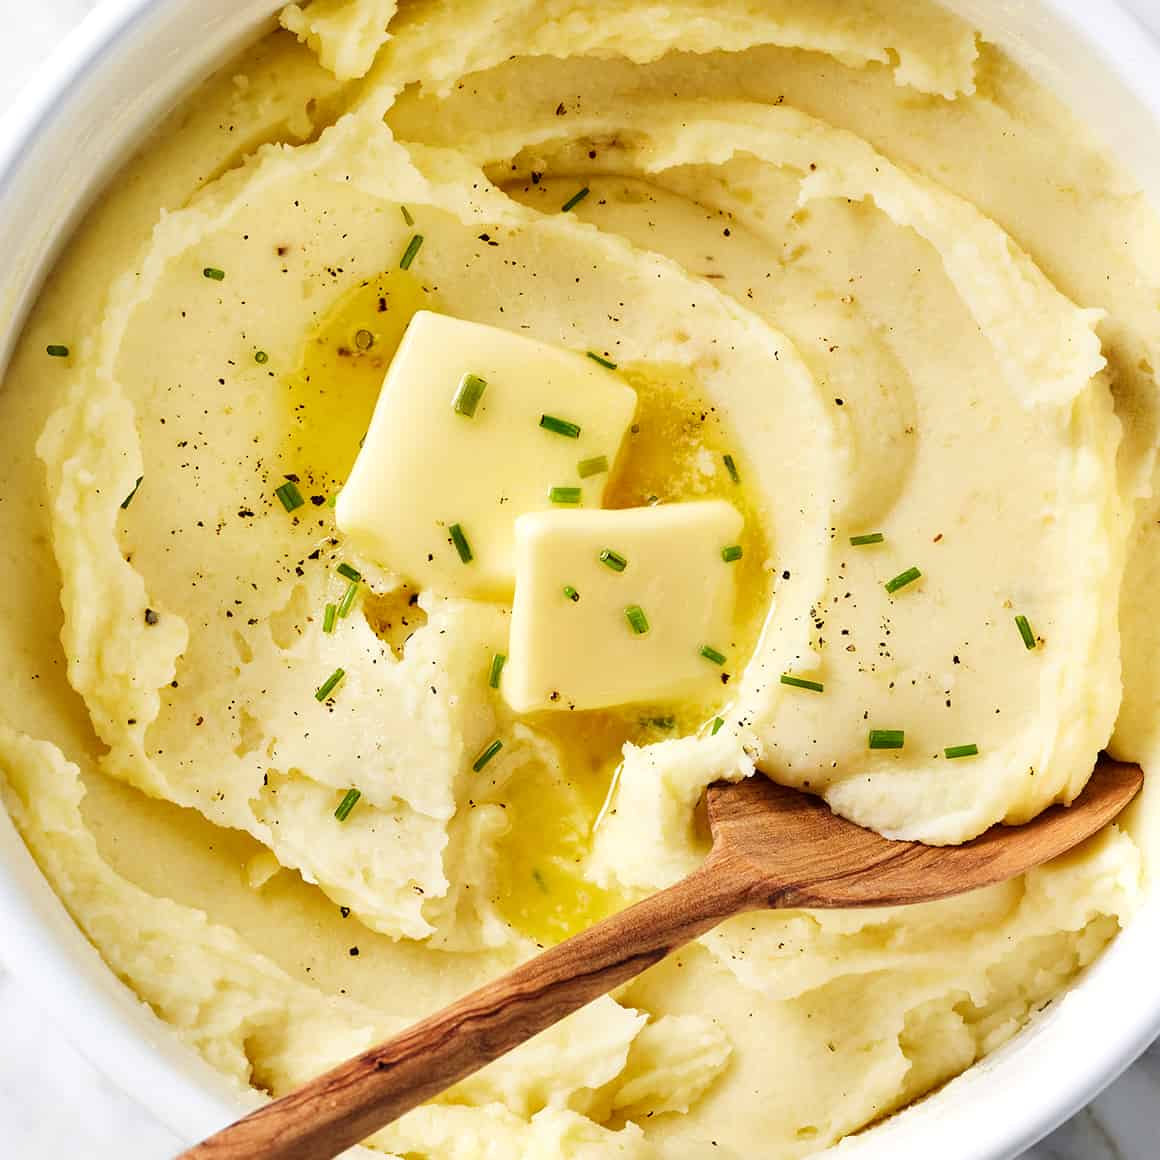
Learn how to make the best mashed potatoes with this easy recipe! Rich, creamy, and flavorful, they're always a crowd-pleasing side dish.

I can’t share a mashed potatoes recipe without mentioning my husband Jack. He LOVES homemade mashed potatoes, specifically ones that are rich, creamy, and flavorful.
I’ve made plenty that he’s liked in the past (see these garlic mashed potatoes and these Instant Pot mashed potatoes). But last year, I finally made the potatoes he’d been waiting for: ones loaded up with butter, milk, and sour cream.
I’m not kidding when I say that these are the best mashed potatoes I’ve tried. They’re ultra-rich and blissfully creamy, and the sour cream gives them a delicious tangy kick. They’re easy to make (and make ahead!), and they’re guaranteed to be a crowd pleaser at Thanksgiving or any meal. If not from me, then take it from Jack—you’re going to love this mashed potatoes recipe.

How to Make Mashed Potatoes
You can find the complete recipe with measurements at the bottom of this post, but for now, I’ll give you an overview of how it goes:
Ingredients
This classic recipe starts with 7 simple ingredients:
- Potatoes, of course! 3 pounds yields enough for about 8 people. Double the recipe if you’re serving more!
- Garlic – For savory depth of flavor.
- Unsalted butter – For richness and buttery flavor.
- Milk – It smooths the starchy potatoes into an incredibly creamy mash. Use whole milk for the creamiest results.
- Sour cream – Technically, this ingredient is optional. If you skip it, the recipe will still come out great. But for the best mashed potatoes, I highly recommend folding it in! It makes the taters extra-creamy and gives them a tangy taste.
- And salt and pepper – To make all the flavors pop!
Find the complete recipe with measurements below.
What are the best potatoes for mashed potatoes?
I think Yukon Golds and russets are the best potatoes for mashing.
- Yukon Gold potatoes are thin-skinned yellow potatoes. I love to mash them because they have a creamy texture, rich golden color, and buttery flavor.
- Russet potatoes are white potatoes that are high in natural starches. Thanks to all that starch, they yield fluffy mashed potatoes.
Feel free to make this recipe with either of these types of potatoes.
Another option I like is to use a mix of both kinds. The russets help with fluffiness and the Yukon Golds supply great flavor. It’s a combination that can’t be beat!

Preparation
My method for how to make mashed potatoes couldn’t be simpler! Here’s how it goes:
First, peel and cut the potatoes. Chop them into large chunks—halve smaller Yukon Golds and cut larger russets into quarters or sixths. Do your best to cut the pieces to a consistent size so that they cook evenly.
Next, cook. Place the potatoes and garlic in a large pot and cover with cold water by 1 inch. Add a tablespoon of salt, and bring the water to a boil over high heat. Reduce the heat to medium and gently boil until the potatoes are fork-tender.
How Long to Boil Potatoes for Mashed Potatoes
When I make this recipe, I generally boil the potatoes for 15 to 20 minutes.
But the timing can vary! The potatoes are ready when you can easily pierce them with a fork. Avoid undercooking them. If they’re still firm in the center, you’ll end up with lumpy mashed potatoes!

When the potatoes are tender, drain them into a colander. Lightly shake to remove excess water, and return the potatoes to the pot.
Finally, mash! Use a potato masher to partially mash the potatoes. Then, pour in the milk and add the butter, salt, and pepper. Continue mashing until the potatoes reach your desired consistency (we like them totally smooth!). If desired, use a wooden spoon or spatula to stir in the sour cream.
Season to taste, adding more butter, sour cream, and salt and pepper as needed. Enjoy!
Recipe Tip
Don’t forget the fixings! We love these potatoes with butter, chives, and salt and pepper on top. You can’t go wrong with mushroom gravy either.

How to Store Mashed Potatoes
Leftover mashed potatoes keep well in an airtight container in the refrigerator for up to 3 days.
You have a few options for reheating them:
- In the microwave – Microwave until heated through, stirring every 2 minutes.
- In the oven – Transfer the potatoes to a casserole dish or oven-safe pan. Dot the top with butter and cover. Warm in a 350°F oven until heated through, 25 minutes or more depending on the size and shape of your baking dish.
I’ve also had success reheating these mashed potatoes using the Keep Warm setting of my Instant Pot. A slow cooker would work well too!
If the potatoes seem dry after reheating, stir in some melted butter or a splash of milk to loosen them up.

More Favorite Potato Recipes
If you love these homemade mashed potatoes, try one of these potato recipes next:
- Mashed Sweet Potatoes
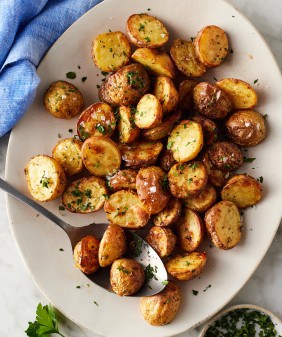
- Oven Roasted Potatoes
- Hasselback Potatoes
- Crispy Smashed Potatoes
- Baked Potato Wedges
- Perfect Baked Potato

Best Mashed Potatoes Recipe
Equipment
Ingredients
- 3 pounds potatoes, russet potatoes, Yukon Golds, or a mix, peeled and cut into large chunks
- 3 garlic cloves
- ½ cup unsalted butter, 1 stick, plus more for serving
- 1 cup whole milk
- 1½ teaspoons sea salt, plus more for the cooking water
- Freshly ground black pepper
- ¼ to ½ cup sour cream, optional
- Chopped fresh chives, for garnish
Instructions
- Place the potatoes and garlic in a large pot and cover with cold water by 1 inch. Season the water with a tablespoon of salt.
- Bring the water to a boil over high heat, then reduce the heat to medium and gently boil for 15 to 20 minutes, or until the potatoes are fork-tender. Drain the potatoes and return to the pot.
- Begin to mash the potatoes and garlic with a potato masher. When they are partially mashed, add the butter, milk, salt, and several grinds of pepper. Continue mashing until the potatoes reach your desired consistency (we like them totally smooth), then use a spatula or wooden spoon to fold in the sour cream, if using.
- Season to taste and serve topped with butter and chives.


Excellent thoughts